
1. 🔍 背景
在日常开源运营中,对于一个 Github 仓库,使用最频繁的就是这四大金刚
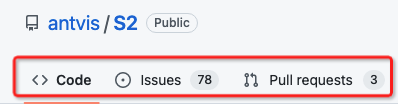

- Code 查看源代码
- Issues 管理问题
- Pull requests 管理代码提交
- Releases 查看发布日志
Issues和 Pull requests 版块是开发者和用户频繁交流的地方,也是比较耗费精力的地方,往往是反复对线拉扯,我们会预设好对应的 模板, 用来提升提问效率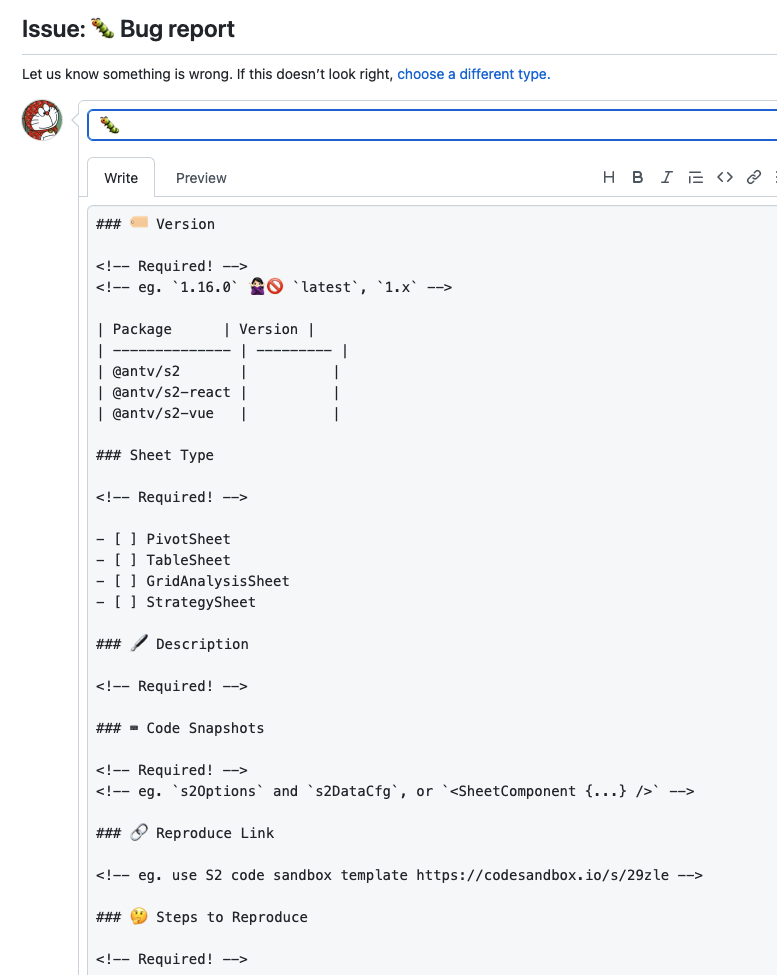
然而模板并没有什么卵用,我们也总是遇到这篇文章 <<如何向开源项目提交无法解答的问题>> 提到的那些 “神奇” 的用户
这篇文章就简单介绍一下 S2 是如果通过自动化的方式,来对 Issue, PR, 版本进行管理
2. 📈 Issue 管理
2.1 打标签
在越来越多的 Issue 堆积起来后,使用 标签 对其进行分类就显得尤为重要,便于快速查找,增加辨识度 查看完整列表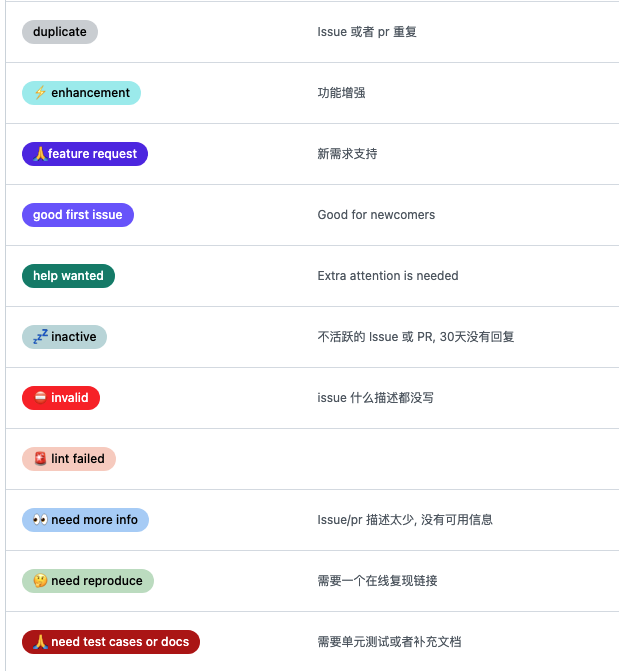
2.2 自动回复
设置标签后,我们还可以进一步扩展,利用强大的 Github Action 和 issues-helper 来进行自动回复
- Action 提供强大的 CI 能力,可以使用各种自定义功能
- issues-helper 对 GItHub API 提供了封装,能便捷的对 issue 做各种处理 (强烈推荐)
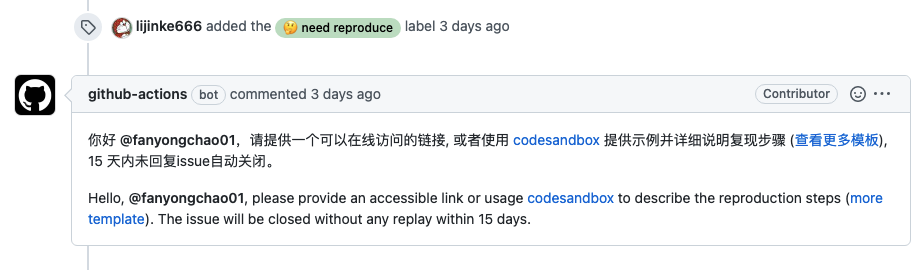
如图,该用户采用了经典的提问方式:**”无视模板,开局一句话,内容全靠猜”**, 此时我们打上 👀 need more info 标签,机器人就会自动回复一个我们预设好的话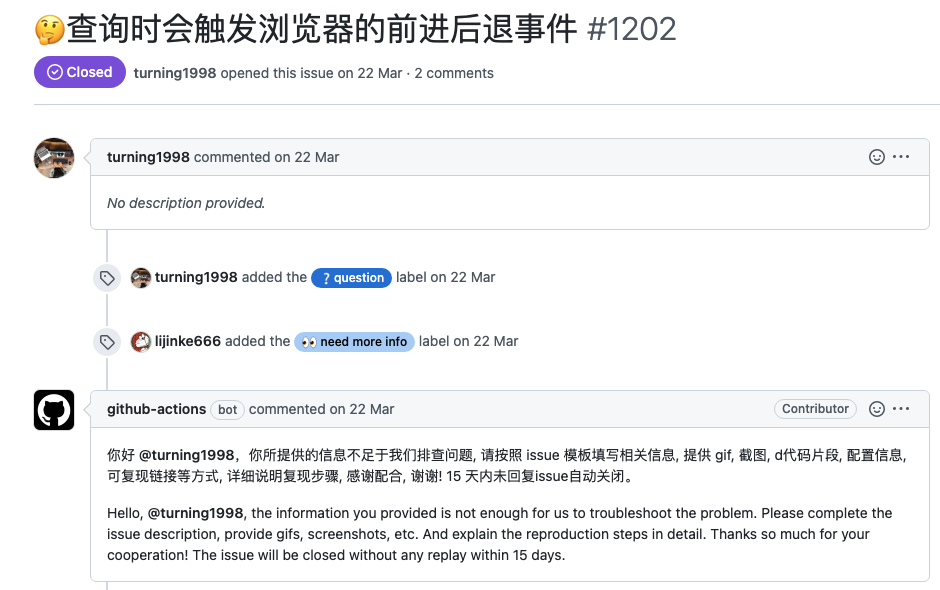
又或是用户反馈了一个 bug, 但是我们无法复现,需要一个让其提供一个复现链接
workflow 代码如下
1 | name: Issue Labeled |
控制台查看: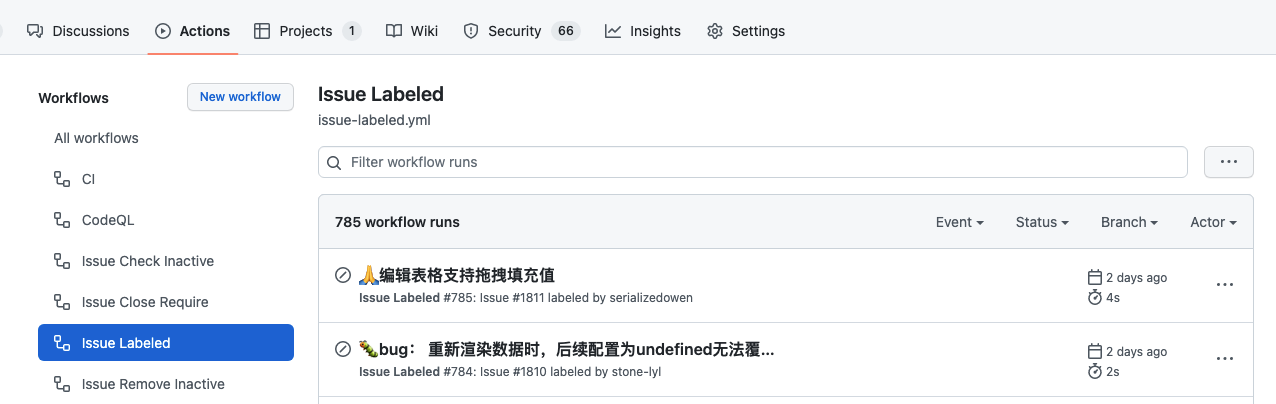
大致流程:
更多细节请查看 [🏷 S2 Labels 使用指南](https://yuque.antfin.com/docs/share/356a627f-be20-427c-9b6d-2d2abf6e5734?# 《🏷 S2 Labels 使用指南》)
2.3 定时任务
对于已经打上 👀 need more info 🤔 need reproduce 的 issue, 但是却迟迟得不到回应,我们可以使用 定时任务 来自动的进行批量处理
workflow 代码如下
1 | name: Issue Close Require |
此时,有弹幕肯定会问:”如果打上标签后,过几天用户又突然回复了怎么办?岂不是就自动关闭了”
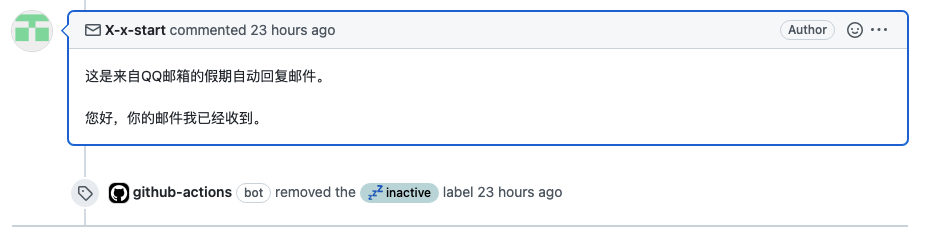
2.4 按需移除
对于上面弹幕说到的问题,我们监听 Issue 的 edited和 comment 事件,只要该 issue是打开状态,并且是创建者编辑的,那么我们就移除对应的标签,这样定时任务就不会触发了
workflow 代码如下:
1 | name: Issue Remove Inactive |
3. 📈 PR 管理
给 S2 提交 PR 的通常都是组内的小伙伴,但是偶尔还是会有几个社区的活菩萨,通常 PR 会有场景的几个问题
- PR 没人看
- PR 不写描述,看不懂改了什么东西
- 单测挂了,没有提示
同理,和 Issue 管理一样,我们通过 打标签+ 自动回复 的方式,增强了开发体验
3. 1 PR 提醒
- 首先是配置 webhook, 配合钉钉群机器人 进行提醒,比较简单不多赘述。

- 自动添加 Reviewer
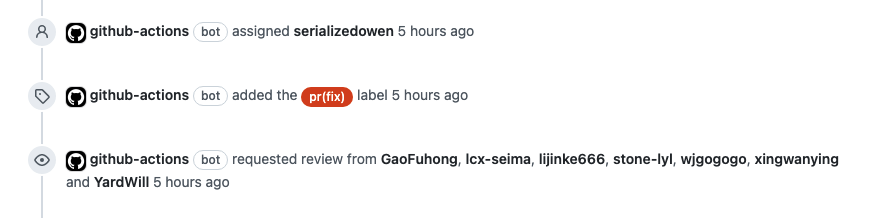
当新建一个 PR 时,会自动添加预设的组内其他小伙伴,提醒他们来评审 PR, 同时会有邮件提醒
1 | name: 👨💻👩💻 PR Auto Assign Reviewer |
3.2 单测未通过提醒
Action CI 的执行过程,每一个 steps 是串行的,同时 Github 提供了 failure和 success 两个函数,用于得到当前 step的执行状态
因此我们将检测的代码放在所有 step的末尾,如下代码所示,如果 Test 这一部失败了,那么我们就添加一个 🚨 test failed 的标签,反之移除,同时自动添加一条评论 maintain-one-comment, 同时作者也会收到一条邮件

1 | name: test |
4. 📚 敏捷看板
敏捷看板又称为产品经理快乐板,在一个一个纵向排列的泳道中,一般是:
“待排期” => “待开发” => “进行中” => “待测试” => “测试中” => “已解决”
依葫芦画瓢,在 S2 中,我们利用 Github 自带但是特别冷门的 Projects, 将 Issue 和 PR 做成一个看板,通过它,我们可能很清晰直观的看到目前的一个状态,在周会上,组内的小伙伴也可以快速同步,可谓是 “一站式” 处理 :)

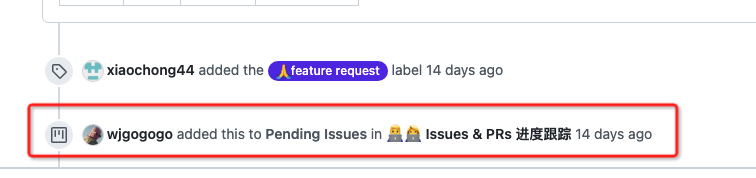
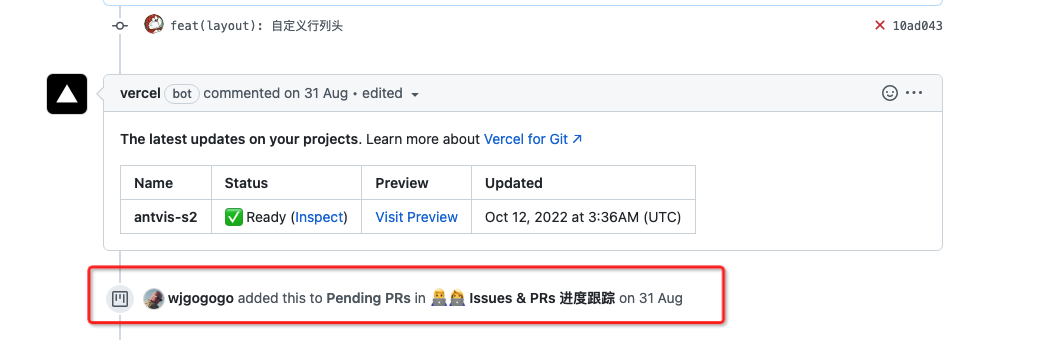
4.1 自动同步 Issue 和 PR 到看板中
默认情况下,Issue 和 PR 是不会自动添加到看板中,需要手动添加,同理,我们可以利用 Github Action 自动添加
Issue
PR
1 | name: 🚀 Auto Add Issue And PR To Project |
5. 🚀 自动发布
S2 是 monorepo, 目前由 4 个包组成
含 @s2-shread 私有包 (内部使用,未发布)

主流的包管理方案是 lerna和 pnpm, 通常来说,发布流程如下

对于 Github 这一环的流程,还有所欠缺。比如:
- 需要手动创建 Github Releases, 把生成的 changelog 粘贴过去
- 无法和 issue 进行关联,用户不清楚当前的 issue 的 bug fix 对应哪个版本
经过组内小伙伴的共同调研,最终使用了
- semantic-release 全自动的语义化发布
- semantic-release-monorepo semantice-release 的 monorepo 插件
1 | module.exports = { |
相比其他方案,它可以自动创建 Github Releases
以及自动关联发布版本 到对应 issue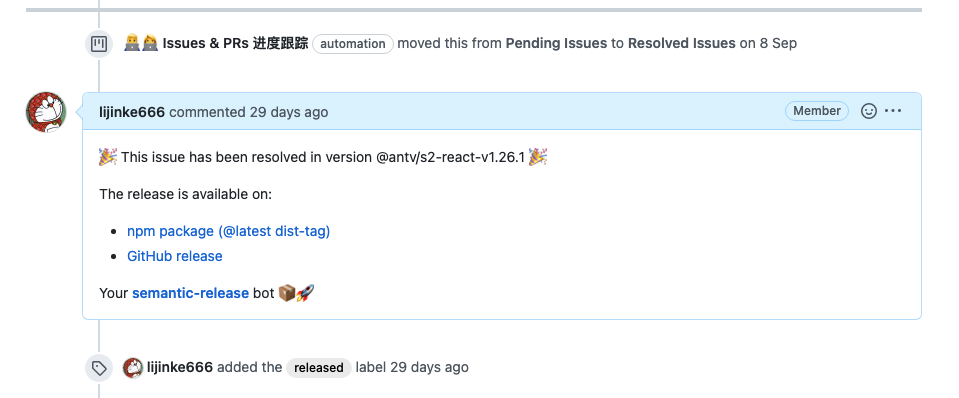
:::info
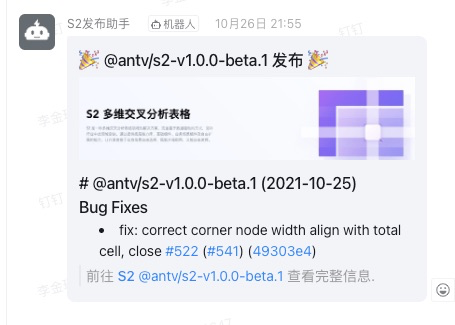
在 CI 中,Action 会有一个 默认的 TOKEN, 即:${{ secrets.GITHUB_TOKEN }}, 如图
你也可以配置成自己的 TOKEN, 那么就会显示你的用户名和头像,所以看到这个头像不一定是我本人在操作 :)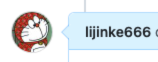
🔑 如何生成各种 TOKEN
:::
5.1 发布方式

我们创建了三个分支,分别是
latest正式版beta测试版alpha预览版
在任意分支提交以 chore(release): 开头的 commit , push 代码即完成发布,后续交给 CI 即可
1 | git commit -m "chore(release): bump version" |
1 | name: 🚀 Auto Release |
:::warning
为什么不直接在本地发布,而是要通过 CI ?
:::
:::success
- 本地需要配置 npm 和 github 的 TOKEN, 组内小伙伴都需要配置,很麻烦,而把 TOKEN 统一配置在 CI 中,则可解决多人发布的问题
- 通过 CI, 可以保证 lint , test 全部通过后,再进行发布,同时可以避免由于每个人的环境差异,本地 node_modules 差异造成的打包产物不同
- 发布过程更直观,每个人都可以在控制台看到
:::
5.2 发布分支
对于正式版发布,为什么是 latest分支,而不是直接使用 master, 原因是在自动发布后,semantice-release 会将生成的 changelog提交上来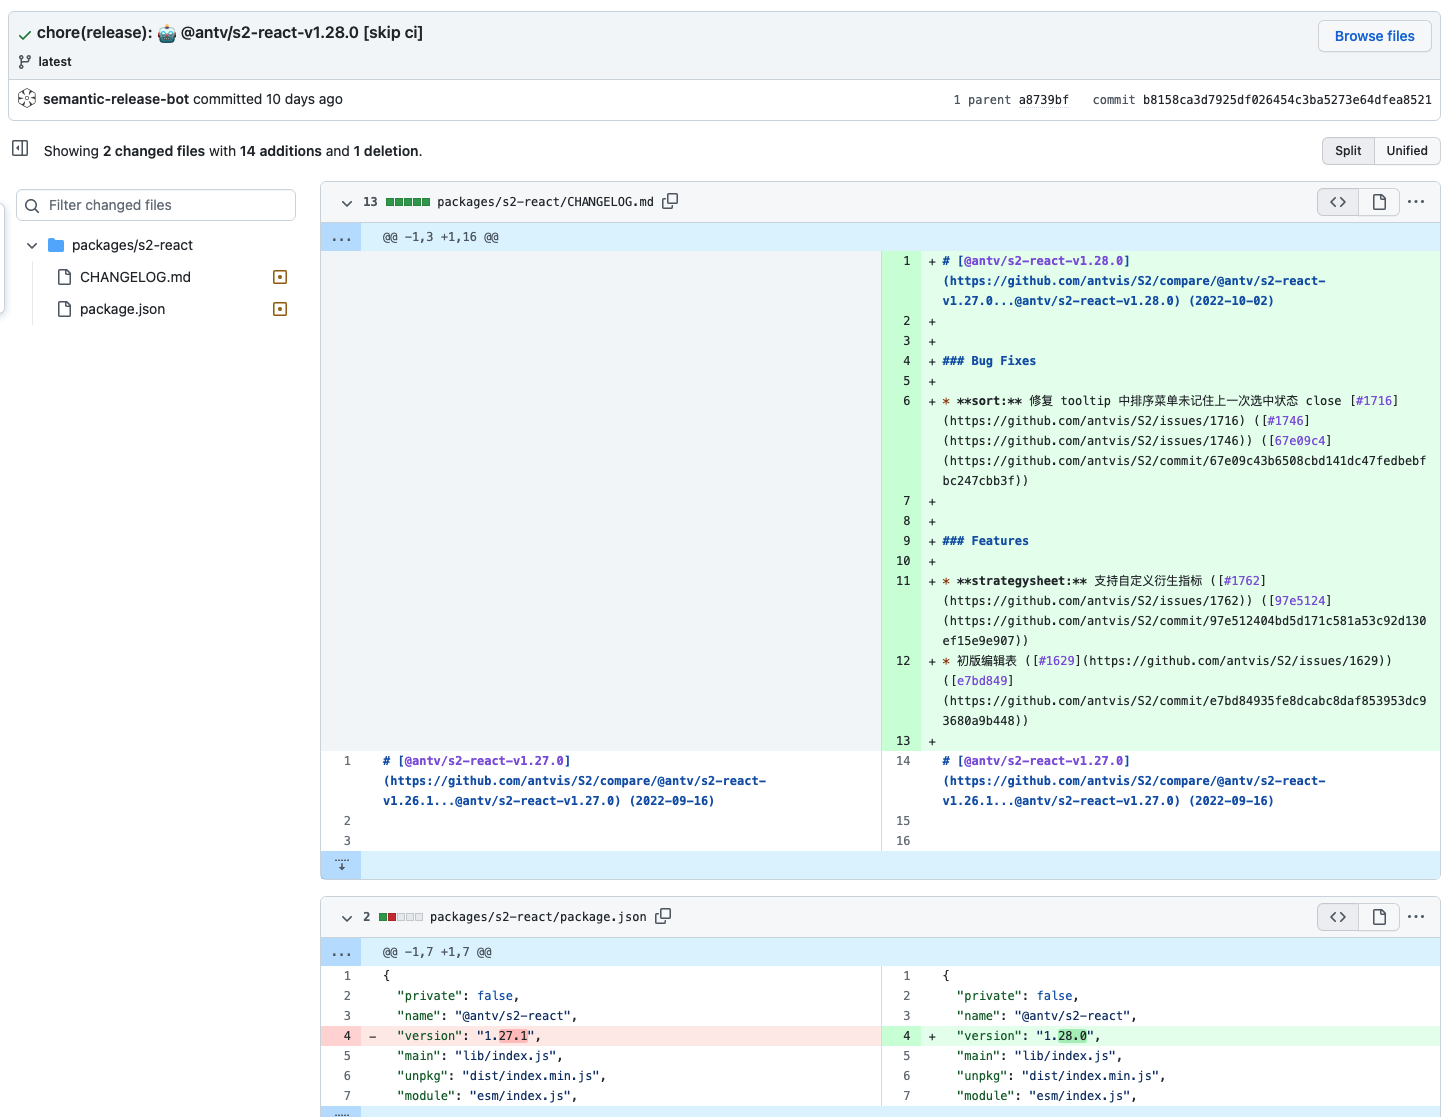
由于 master是 保护分支,无法直接 push 代码,也可以取消 master 的保护策略,在安全性以及各种权衡之下,最终选中了这种取消救国的方式,唯一的弊端就是,在发布 alpha和 beta版本时,需要同时同步一下 latest (同步 Tag)和 master (同步代码) 分支
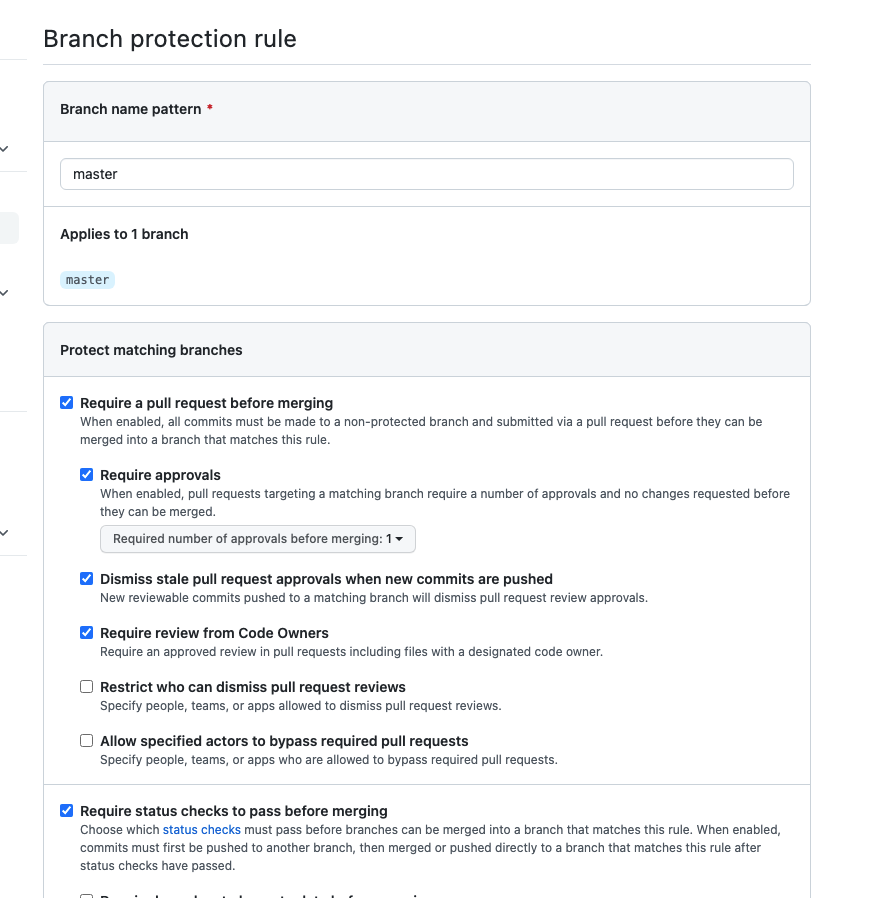
5.3 发布通知
同理,我们使用 Action 监听 release 的 released 事件,再调用 钉钉 API 即可
1 | name: 🎉 Release Notify |
同时,action 支持 job 依赖,即一个 action 执行完成后,再执行另外一个,我们可以利用这个特性将 action 解耦,不然全部写在一个文件,太乱,不易维护
1 | name: 🚀 After the release is successful |
5.4 自动部署官网
我们可以使用 Action 的 workflow_run 属性,在指定 Action 执行完后再执行操作,然后部署官网
1 | name: 🚀 After the release is successful |

更多细节请查看 🚀 发布规范
6. 🔭 总结
上述很多 Action , 主要参考 (chao xi) 了 ant-design 仓库 的 workflows 配置 , 通过上面简单的介绍,我们可以了解到,借助强大的 Github Action, 我们实现
- Issue 的自动回复
- PR 的自动回复,自动通知
- 定时任务管理 Issue
- semantice-release 自动发布
- 自动部署官网
如果看完这篇文章你有所收获,欢迎给我们的 仓库 Star⭐️ 鼓励。
S2 的相关链接:
- GitHub
- 官网
- 核心层:@antv/s2
- 组件层:@antv/s2-react